How to integrate Jumptech and Xero using Zapier to automatically create an invoice when a Jumptech project is installed.
Pre-requisites
- Premium Zapier account to access the Xero app
- Xero login details with the relevant privileges to access Xero via API
- Jumptech API key (contact Support or your Account Manager)
How to
1. Login to Zapier then click Create Zap
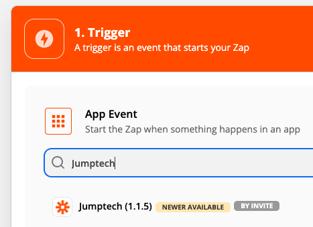
2. Search for the Jumptech app and click on the latest version (in the example below the latest version is 1.1.5)
3. Choose the Trigger Event as 'Project Update', click 'Continue'
4. Click on the 'Choose Account' list and select your Jumptech account, or click '+ Connect a new account'.
If you are adding a new account, add your Jumptech API key and environment details into the form that pops up. The API key supplied to you is specific to the environment you are using.
Click 'Continue'
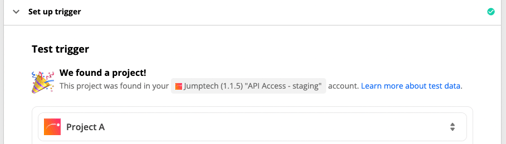
5. Leave 'Update Type' as 'STATUS (DEFAULT)', click 'Continue', then click 'Test Trigger'
When the test is complete you should see a message similar to the image below. If you get any errors please verify your API key has been entered correctly when you connected your account.
Click 'Continue'
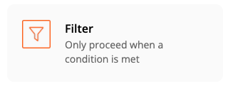
6. In the 'Action' section we will set up a filter to only continue if the project status is set to 'INSTALLED'.
You can change this filter to continue using another status depending on your requirements
Select the 'Filter' option
7. Set up the filter as per the image below

Click 'Continue'. This will test the filter to see if the Zap would have successfully run or not.
It is not essential at this stage that the Zap successfully passes the filter. The data being used is sample data and may not have the correct status. If this is the case you will get a message saying 'Your Zap would not have continued. If this wasn’t expected, edit your filter below & retest. Learn more.'
This message can be ignored.
If Xero already contains the correct contact details for the invoice you can skip these next steps and go directly to step 13.
8. Click the '+' button to proceed and add the next 'Action'

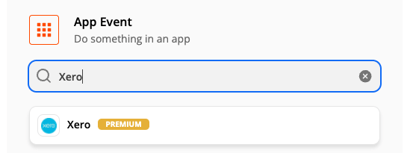
9. Type 'Xero' in the search box and click on the Xero app that appears after the search
10. Select 'Create/Update Contact' from the 'Action Event' dropdown menu. Then click 'Continue'
11. Select your Xero account or choose '+Connect a new account' and fill in your Xero account login details into the popup. Then click 'Continue'
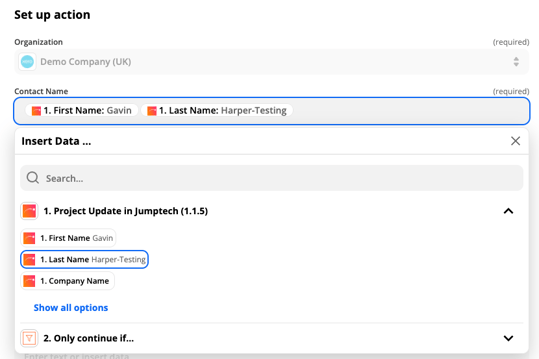
12. Fill in all of the information required to create a new contact.
You can use data from Jumptech by click into a field, then dropping down the 'Project Update in Jumptech' menu.
You can then click on the data you want to use. In the example below we've chosen 'First Name' and 'Last Name' data to create the 'Contact Name' in Xero.
Once you have filled in all of the required data, click 'Continue' then click 'Test & Continue' to test that the contact has been created.
13. Click the '+' button to proceed and add the next 'Action'
14. Type 'Xero' in the search box and click on the Xero app that appears after the search
15. Select 'Create Sales Invoice' from the 'Action Event' dropdown menu. Then click 'Continue'
16. Select your Xero account or choose '+Connect a new account' and fill in your Xero account login details into the popup. Then click 'Continue'
17. Fill in all of the information required to create an invoice.
You can use data from Jumptech or the data you created in Xero earlier (contact data for example) by click into a field, then selecting the data you need.

18. Once you have filled in all if the data you need to create your invoice click 'Continue' then click 'Test & Continue'
19. When you click 'Test & Continue' and sample invoice will be created in Xero. You should check the invoice carefully to ensure it's been created as expected. Check to ensure line items are as you require and invoice dates etc are correct.
20. Once you're happy the invoice is being created correctly you can turn your Zap on:

Once the Zap is on any Jumptech projects that match the filter criteria will create an Invoice in Xero.